Shadcn Badge Components
Displays a badge or a component that looks like a badge. All badge variants drop into Radix UI and Base UI projects without changes. Browse our collection of 17 Shadcn Badge variants.
Badge
Notification count
Announcement
Announcement with link
Split announcement
Announcement with button
Unlock premium components
Explore Shadcn Blocks
Ready-made page sections built with the same components.
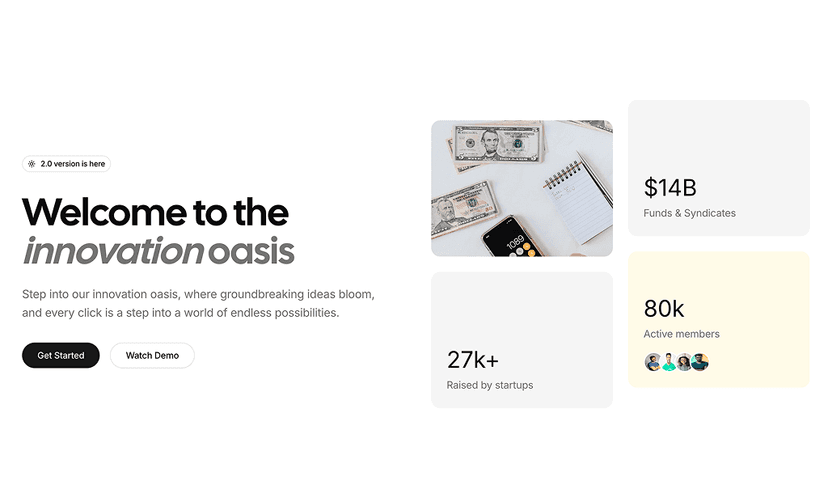
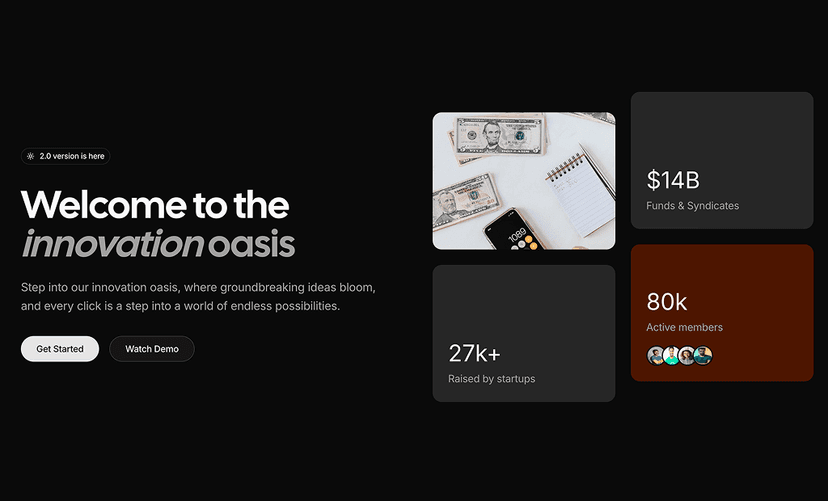
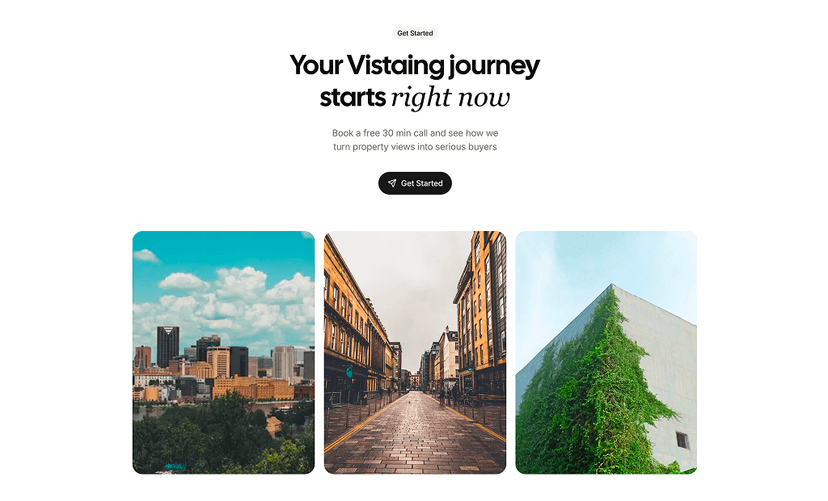
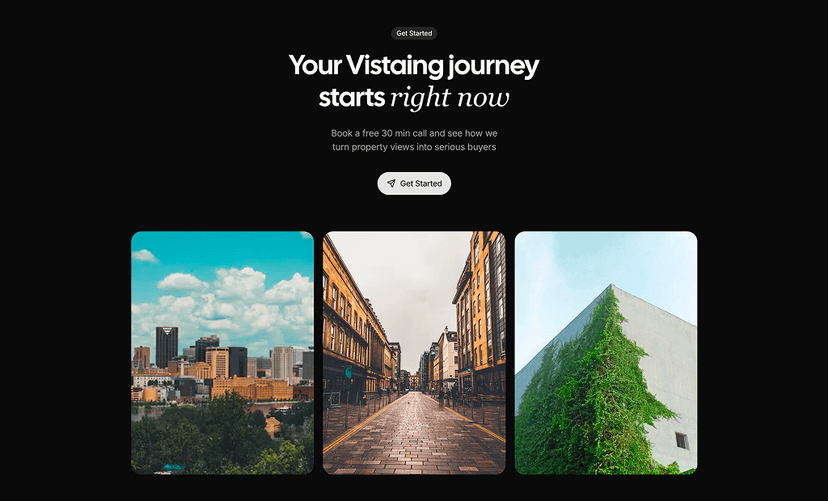




Shadcn Badge Component
The Shadcn Badge is a small inline label for status, counts, tags and short announcements. It is one of the smallest pieces of a design system and one of the most used: order states in a table, unread counts on an avatar, "New" markers in navigation and the pill at the top of a hero section are all badges.
Status dots, notification counts, trend indicators, removable tags and announcement pills sit next to the plain default badge in this collection. The shadcn badge is a styled span built with shadcn/ui, React and Tailwind CSS, with only a Slot behind the asChild prop, so each variant drops into Radix UI and Base UI projects without changes.
What is the Shadcn Badge Component?
A badge is a compact, non-interactive label. In shadcn/ui it renders a span with rounded corners, small text and a color that comes from the variant prop: default, secondary, destructive, outline, ghost or link. Icons placed inside are sized automatically, and with asChild the badge styles can be applied to a link or another element instead of the span.
Use a badge to describe something, not to trigger an action. If the element needs to be clicked to run a command, a Button is the right choice. If you need a pressed or selected state, such as a filter chip that stays on, use a Toggle. For a status message with a title and description, reach for an Alert, and keep the badge for one or two words.
Anatomy of the Shadcn Badge
| Part | Description |
|---|---|
| Badge | The component itself. Accepts variant, className and asChild, and exposes data-slot="badge" and data-variant for styling from a parent. |
| badgeVariants | The class-variance-authority function that returns the badge classes for a given variant. Use it to give a link or any other element the badge look without rendering the Badge component. |
17 Shadcn Badge Variants
Each badge variant listed here is previewed live at the top of this page, together with its source code and install command.
- Basic and with icon: The default badge, plus versions with a leading icon such as a lightning bolt or a green check for a completed state.
- Status dot: Outline badges with a small colored dot in front of the label, used for states like Pending or Build Error.
- Counts: A round number badge, a label with an inline count and a notification counter pinned to the corner of an avatar.
- Link badge: Uses
asChildto render the badge as an anchor, so it keeps the badge styling and gets a hover state. - Removable: A single dismissible badge, a tag list where each close button removes its tag, and user chips with an avatar and a close icon.
- Trend: Green and red percentage badges with up and down arrows, including a solid green badge and the destructive variant, for metric cards and dashboards.
- Announcement pills: Large rounded pills for hero sections: with an icon, with an arrow link, split into label and link, or with a button inside.
How to Install the Shadcn Badge Component
Set up shadcn/ui in your project if you have not already, then add the Shadcn UI Kit registry to your components.json once:
{
  "registries": {
    "@shadcnuikit": "https://shadcnuikit.com/r/{name}.json"
  }
}
Then install a badge variant by its name:
npx shadcn@latest add @shadcnuikit/badge1The same command works with pnpm dlx, yarn dlx and bunx --bun. Each variant has a copy button for every package manager, and the code is added to your project as plain React and Tailwind CSS that you can edit freely.
How to Use the Shadcn Badge Component
Import Badge from your components/ui folder and pick a variant. Mark icons with data-icon="inline-start" or "inline-end" so the padding on that side is adjusted.
import { CheckIcon } from "lucide-react"

import { Badge } from "@/components/ui/badge"

export function OrderStatus() {
  return (
    <div className="flex gap-2">
      <Badge>New</Badge>
      <Badge variant="secondary">Draft</Badge>
      <Badge variant="outline">
        <CheckIcon data-icon="inline-start" aria-hidden="true" />
        Shipped
      </Badge>
      <Badge variant="destructive">Refunded</Badge>
    </div>
  )
}
Why Use the Shadcn Badge Component
- Instant scanning: Color and short text let users read the state of a row or card without opening it.
- Six built-in variants: Default, secondary, destructive, outline, ghost and link cover most needs before you write any custom classes.
- Theme aware: Colors come from your CSS variables, so badges follow your palette and switch correctly in dark mode.
- No dependencies to wire: It is a styled span with no state or portal, so it works in server components and any layout.
- Composable: Put icons, dots, avatars, counts or even a small button inside, as the variants on this page show.
Common Badge Use Cases
- Status columns: Order, payment and deployment states in data tables and lists.
- Notification counts: Unread messages or alerts on an avatar, icon or navigation item.
- Tags and filters: Removable tags for selected skills, categories or active filters.
- Metric trends: Percentage change next to a KPI value in dashboard cards.
- Announcements: A pill above a hero heading that links to a changelog or new feature.
- Plan and role labels: Pro, Beta or Admin markers next to names, features and menu items.
Customizing the Shadcn Badge
The badge is a single element, so every change is a class. Pass className to adjust height, padding, radius or color, or add your own variant to badgeVariants if a style repeats across the app. Because the default colors use theme tokens like bg-primary and bg-secondary, you can restyle every badge at once by changing your palette, for example with the free Theme Generator.
To style another element as a badge, call badgeVariants directly:
import Link from "next/link"

import { badgeVariants } from "@/components/ui/badge"

export function ChangelogLink() {
  return (
    <Link href="/changelog" className={badgeVariants({ variant: "outline" })}>
      Changelog
    </Link>
  )
}
Badge Accessibility
A badge has no role or keyboard behavior of its own; screen readers read its text as part of the surrounding content. Do not rely on color alone to carry meaning: pair a red badge with a word like "Failed" or an icon, and hide decorative icons and dots with aria-hidden="true". A bare number is unclear out of context, so add visually hidden text such as "3 unread messages" to count badges.
When a badge contains a remove button, that button is the interactive part. Give it an aria-label like "Remove React" and a visible focus ring so keyboard users can reach it with Tab and activate it with Enter or Space.
Badge Best Practices
- Keep the text to one or two words; longer text belongs in an alert or a description.
- Use the same color for the same meaning everywhere, for example green for success and red for failure.
- Reserve
destructivefor errors and negative states so it keeps its weight. - Limit the number of badges on one item; three or more competing labels stop being scannable.
- Cap large counts, for example 99+, so the badge does not grow and break the layout.
- If the badge runs an action when clicked, use a Button with a small size instead.
Components Related to Badge
Shadcn Badge FAQ
Looking for something else? Browse all shadcn/ui components or ready-made UI blocks built with them.